If you have a Raspberry Pi sitting in your homelab gathering dust, or simply running lighter services like Pi-hole, you might want to monetize that idle bandwidth. Honeygain allows you to share your Internet connection in exchange for credits, which can eventually be cashed out when you reach the $20 threshold.
In this guide, I'll help you deploy Honeygain on a Raspberry Pi using Docker to ensure the container is isolated, restartable, and easy to manage.
Prerequisites
Before we start, ensure you have the following:
- A Raspberry Pi (3, 4, or 5) running a 64-bit OS (Raspberry Pi OS Lite 64-bit is what I recommended).
- Docker installed and working.
- A Honeygain account (you will need your account email and password later).
If you don't have a Honeygain account already, make sure to sign up using my referral link and get a $3 bonus right from the start!
Install Honeygain on Raspberry Pi
With docker installed, getting Honeygain working on a Raspberry Pi is really simple.
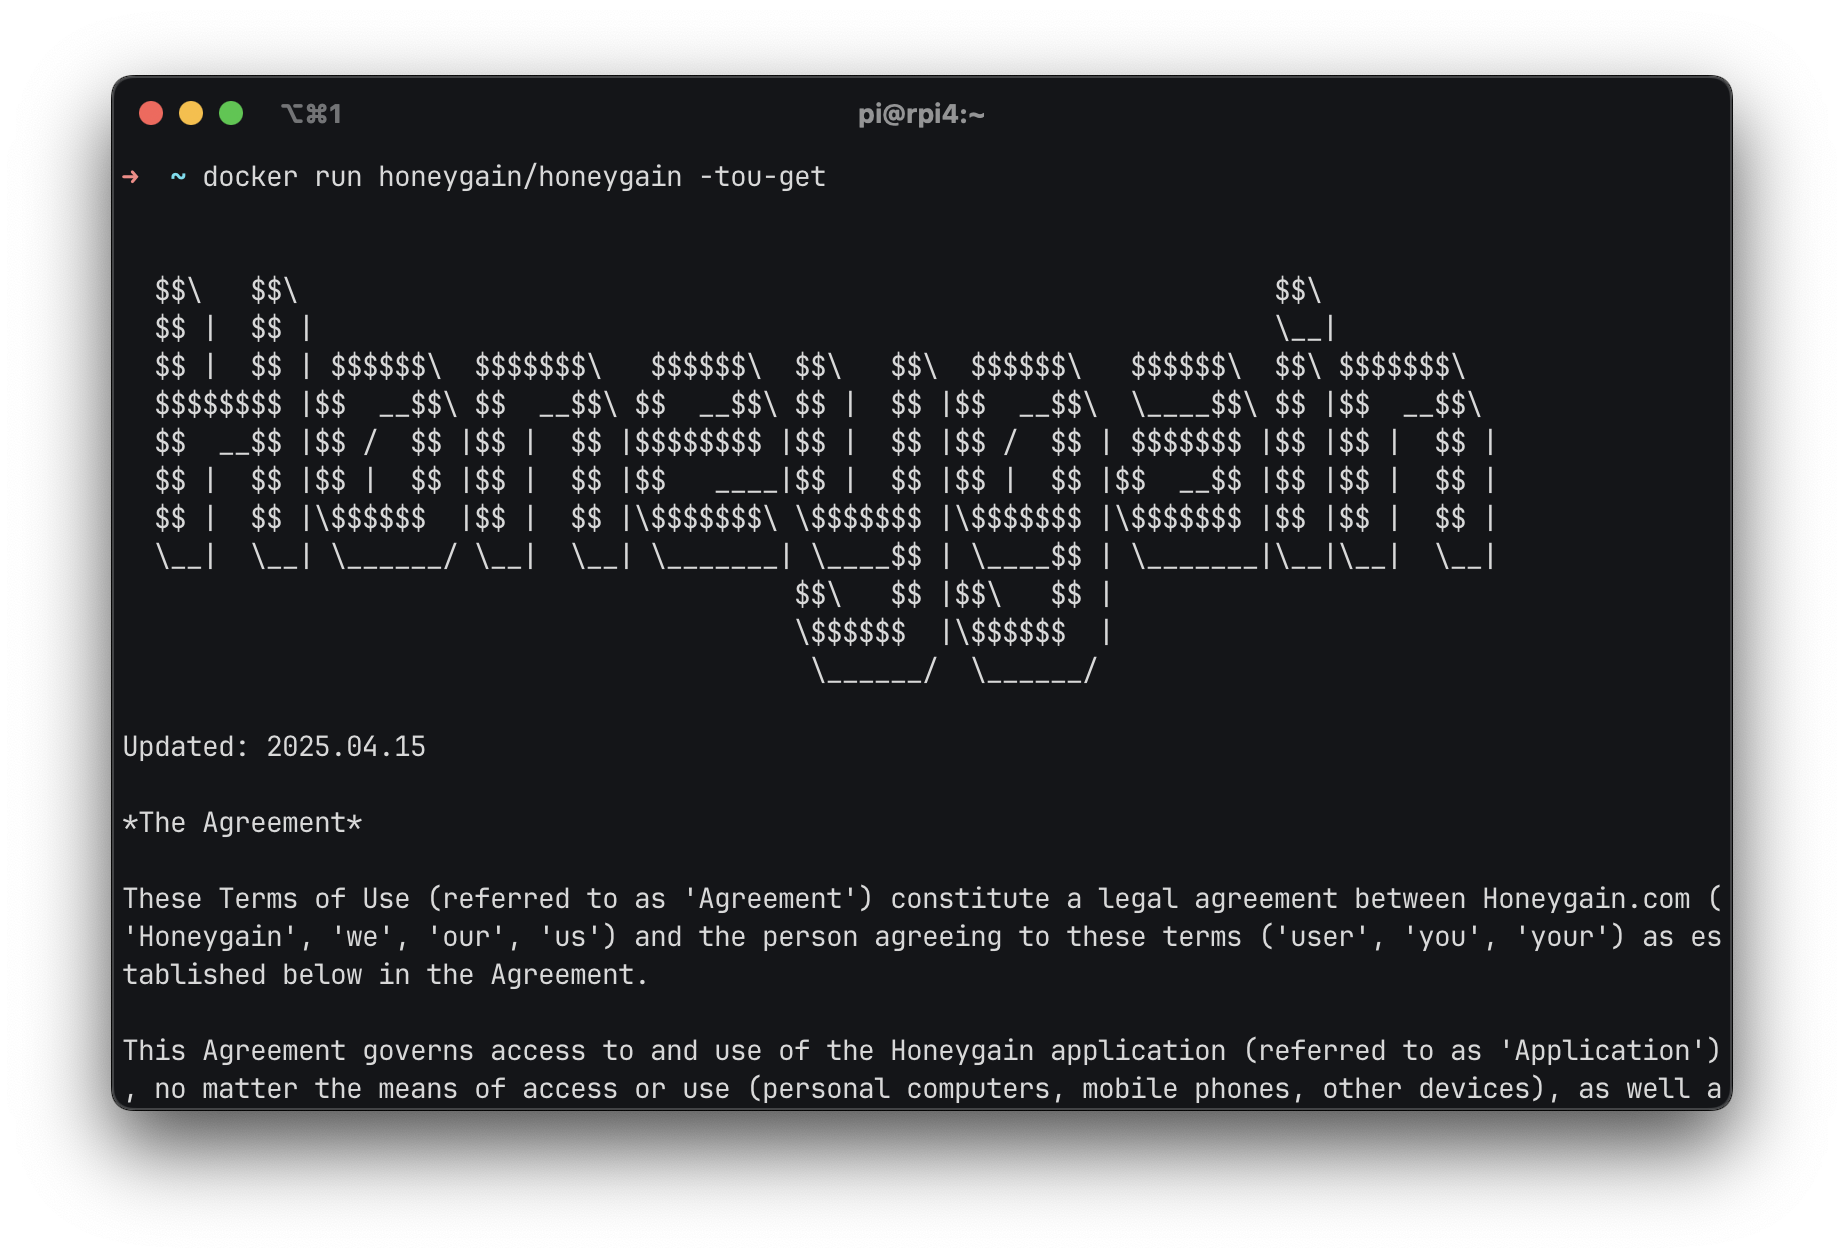
The first step, for your privacy, is reading the Terms Of Use (TOU), which you can get by running the following command:
docker run honeygain/honeygain -tou-get
This will pull the latest Honeygain docker image from the Docker official registry and it will show you the TOU (you can scroll up/down):
If you see Got permission denied while trying to connect to the Docker daemon socket..., try:
sudo docker ...
By using the sudo command in front of it, you will grant docker superuser privileges. You will be prompted to type your Raspberry Pi's user password.
Then, you can get your Honeygain container up and running with the following command, where you must change the placeholder ACCOUNT_EMAIL and ACCOUNT_PASSWORD with the email address and password chosen at the Honeygain registration stage. You can also choose your preferred device name by changing DEVICE_NAME in the command: this will help you identify the device and track its performances in your Honeygain dashboard:
docker run -d --name honeygain --restart unless-stopped honeygain/honeygain -tou-accept -email ACCOUNT_EMAIL -pass ACCOUNT_PASSWORD -device DEVICE_NAME
This Docker command slightly differs from the official one (see here). It adds a custom name to your docker container and adds the restart policy to make the container running also across reboots of your Raspberry PI.
This is a detailed an explaination of what the command does:
- docker run -d: gets the container run as a daemon (in background)
– -name honeygain: sets the container name to
honeygainwhile running in your local Raspberry PI – -restart unless-stopped: automatically restarts the container even after you reboot the Raspberry Pi, unless you decide to manually stop it - honeygain/honeygain: specifies the Honeygain official container image
- -tou-accept: runs the Honeygain container accepting the Terms Of Use
- -email ACCOUNT_EMAIL: sets the email variable to the one you used at the Honeygain registration
- -pass ACCOUNT_PASSWORD: sets the password variable to the one you used at the Honeygain registration
- -device DEVICE_NAME: sets the device name to your favourite
Check your Dashboard on Honeygain
At this point, your Honeygain dashboard will show you the newly added device in the "My active devices" section. You may have to wait a while before it shows up, so keep refreshing your dashboard if it doesn't appear. It should appear with the name "Docker DEVICE_NAME Linux 0.8.1", where in this case DEVICE_NAME is the name you've given to the device in the previous command and 0.8.1 is the latest container version.
Once connected and actively sharing, you will also be able to see the device's public IP address, the credits that were generated and the bandwidth in KB, MB or GB that was shared by that device.
Limitations
There is an unfortunate limitation in using the Docker container image on Linux compared to installing Honeygain on a Windows PC or Mac: Content Delivery is currently not available on Docker containers, but the Honeygain team said that it may be introduced in the future. In the meantime, we can only wait and hope.
Another limitation is that you can only have one active sharing device per network: each device needs to have a unique public IP address. If you already have a device connected on the same network, when running Honeygain it will give you an error saying Network overused. A solution to this might be to install Honeygain on another Raspberry Pi or existing PC physically located in a separate network, like at your parent's or grandparent's house or at a friend's, so that each device has a different IP and you will be able to generate more credits (therefore, cash) each month.
Conclusion
As you can see, with just a few lines of code you can easily get a Honeygain Docker container up and running and start monetizing your unused bandwidth. Again, if you don't have a Honeygain account already, make sure to sign up using my referral link and get a $3 bonus right from the start!